Docker by Example: Cleaning up
Docker likes to hold onto images and containers even after you've stopped them. This covers some Docker commands to clean up after yourself.
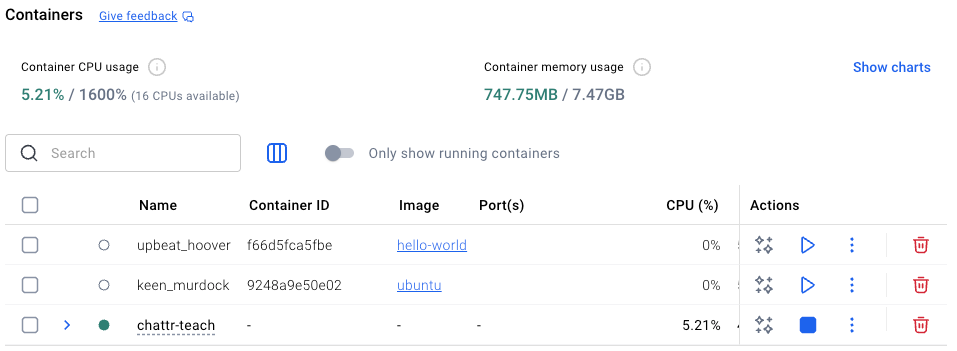
Like I mentioned in the previous tutorial, closing the docker terminal process with CTRL+C (3x) doesn't automatically stop any running containers. The process that runs those containers is always going, so the containers keep going with it. To see a list of containers that are running, you can type the following command:
docker psThis list of currently running containers includes information like container id, an auto-generated name, when the container was created, and ports mapped by the containers.
To stop a container, we run the docker stop command with either the container's name or id. Since the name is easier to type, that's what I usually use. Just run this command, replacing container_name with the name (or id) of the container.
docker stop container_nameThere's another secret you need to know about containers - just because they stop doesn't mean they go away. Your computer holds onto old containers just in case you want to run them again later. To see the full list of containers still available on your computer run:
docker ps -aIf you've been typing commands with this tutorial, you probably have a few python-basic containers and web-app containers laying around waiting for you to run them again. There's a few ways to clean up that list.
First, we can delete all stopped containers with:
docker container pruneYou can remove specific stopped containers with
docker rm name_or_idAnd you can do more complex things by chaining docker commands together as outlined in the Docker documentation
Docker also holds on to all of your previous images (built with the docker build command). You can see the images you have with
docker image lsAnd clean them up with docker image rm or docker image prune just like we did with containers. Prune gets rid of all images that have been superseded by a new image with the same tag (so unique tags are still kept), and rm gets rid of a single image by id or name. If you want to get rid of all images not currently used in a container, run:
docker image prune -aUsing the GUI (aka, cheating)
You can also do all these operations through the Docker Desktop interface. If you open Docker Desktop on your computer, you can see the list of containers and images just by navigating around, you can stop containers, you can delete images, you can prune lists, all through that interface.
HOWEVER, you won't always have the Docker GUI. It does make it easier to do things on your computer, but when you're deploying websites to a server, you don't have Docker Desktop, so it's still worthwhile to know how to manage Docker through the CLI.
Next up