Deploy a Sample App to Elastic Beanstalk (Learner Lab edition)
The first step to working with Elastic Beanstalk is just to deploy some sample code so you get the basics of how to work with the environment. Once we've got the basics down, we can start deploying actual code.
Step 1: Create the Beanstalk Environment
Open the AWS Learner lab, start the Lab, then open the AWS Management Console. Navigate to the Elastic Beanstalk page (search at the top left of the AWS Management Console).
Click Create application

Configure Environment
Use the Web server environment, and enter an application name. This can be whatever you want it to be. The Environment name will be created automatically.
Choose the Platform "Node.js", and use the branch of whatever version of NodeJS is latest.
Use the sample application code, and use the Preset of "Single instance (free tier eligible)." Click Next.
Service Access
On the service access page, select the following options:
- Service role:
LabRole - EC2 instance profile:
LabInstanceProfile - EC2 key pair:
vockey
Select "Skip to review" - the sample application doesn't need anything more than that.
Review
Review the settings you've created, then click "Create." Now you'll wait while Elastic Beanstalk does the work of creating an application server and setting up your environment.
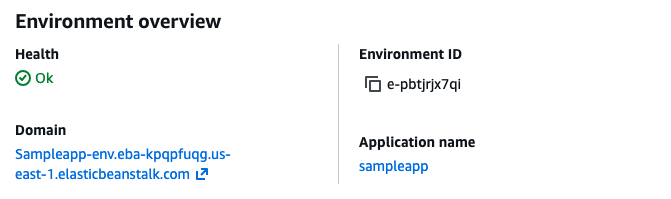
Once the Environment overview lists the Health as "Ok", you are ready to visit the site. Click the link under "Domain" to visit the site. You'll see a pretty basic sample application, but you now know that your Elastic Beanstalk environment works.